Now that you know how to navigate the toolbar you are ready to input your tasks into the Task List. This is where your project will start to form.
Inspire Planner allows you to attach files to tasks, see action items and communicate via Chatter within the tool.
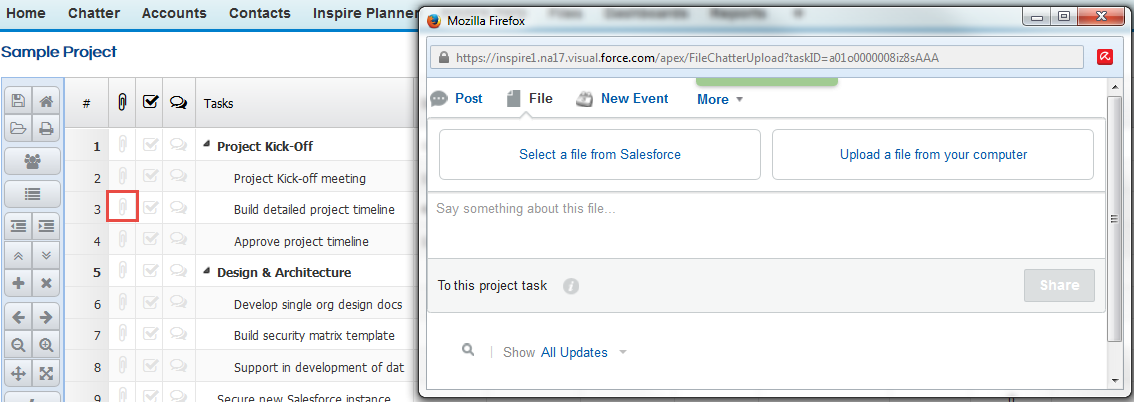
To attach a document to a particular task, select the faded paperclip beside the Task ID number (a faded icon indicates there are no files uploaded). A screen will then pop up where you may select a document from within Salesforce or upload a file from your computer. You are also given the option to write a description about the attached file.
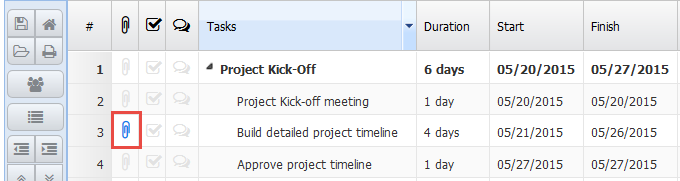
Once the file is attached the paperclip will appear in blue to indicate a document(s) are present.
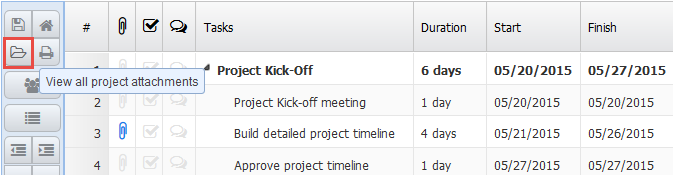
To view all project attachments click on the File Folder in the Toolbar.
Action Items
Action items are for Salesforce users. It allows a task to appear in their personal task list of the assigned Salesforce user.
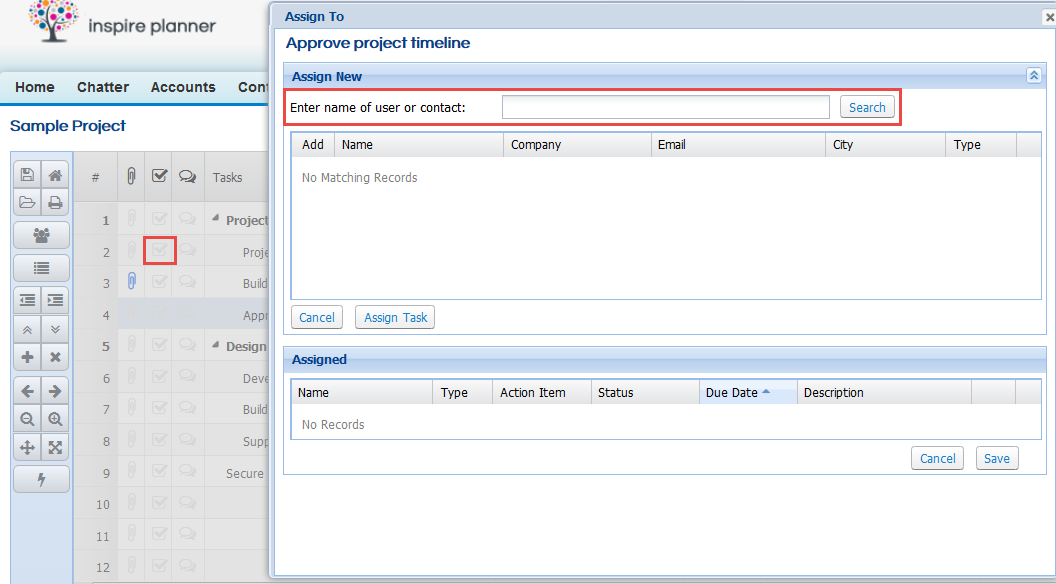
When you click on the faded checkbox of the desired task, the following popup will appear. Type the name of the user you wish to assign a task to and select Search.
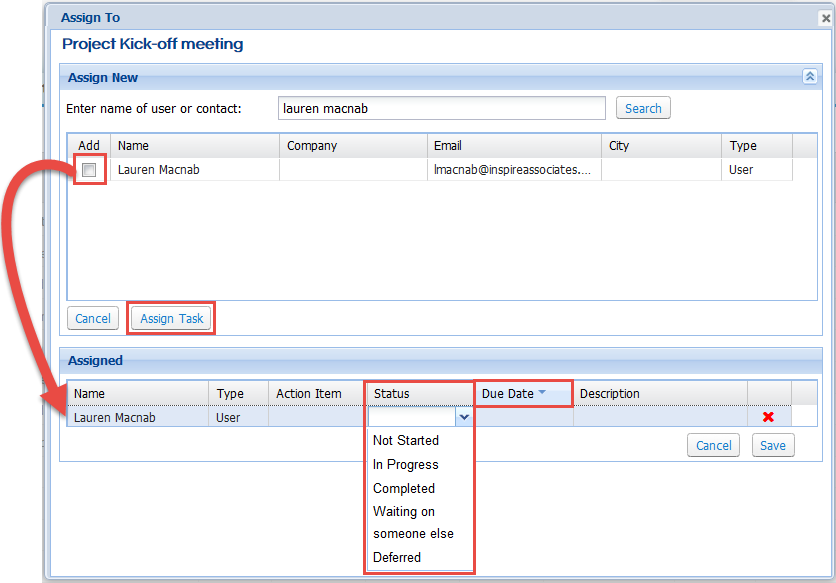
Select the check box under the Add column and press Assign Task. In the assigned section of the popup you will see that you may fill in the Action Item, Status, Due Date and Description. To remove a user from a task press the red 'x'. Once you have filled out the fields below it will populate in their Salesforce task list.
Below are all tasks assigned to Lauren Macnab in her Salesforce instance. When you click on Related To it will bring you to the Project Task Detail of the task along with any Chatter that has been linked to it.

When the status of a task has been updated the to Complete, or if the task is over due. The task icon within the Inspire Planner project will go green or red accordingly as seen below.
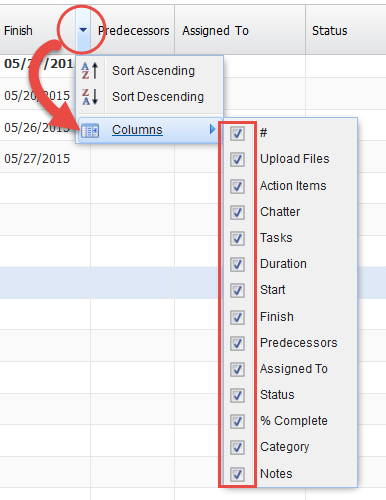
You will see below the columns that are available to you to organize your project.