A fast and easy way to set up projects is by using Save As to clone previous projects. You then just need to make adjustments to the already loaded project outline to suit your project current needs. You may also find it helpful to set up project templates within your Inspire Planner app that are suited to your different project needs. Going forward you will not have to set up a whole project, you simply just have to Save As and add to the project bones that have already been built.
Let's Get Started!
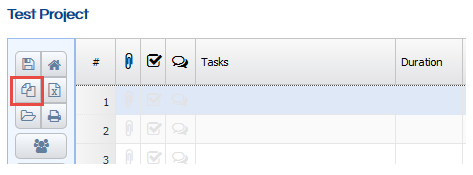
To Save As or Clone your project simply go to an existing project and press the Save As icon. 
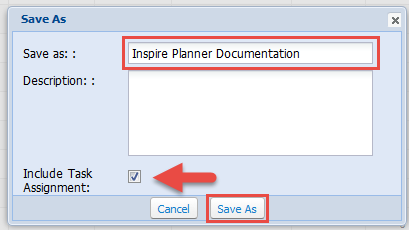
The following pop up will appear. You may change your project title in the Save As field. Write a Description and choose whether to Include Task Assignment or not by selected or deslecting the check box. Finally press Save As.
Your new project should now appear on the screen and you're ready to get started!
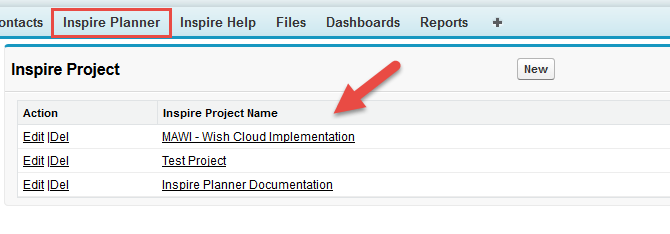
If you would to see a list of all of your projects, go to your Inspire Planner tab within your Salesforce instance and a list will appear below.