Need to print your Gantt Chart?
Printing is quick easy. Just follow these simple steps.
Printing your Gantt Chart
Step 1: Place your cursor over the midle divider line between your task list and your Gantt Chart. Drag your cursor to the left or right to get the desired size.
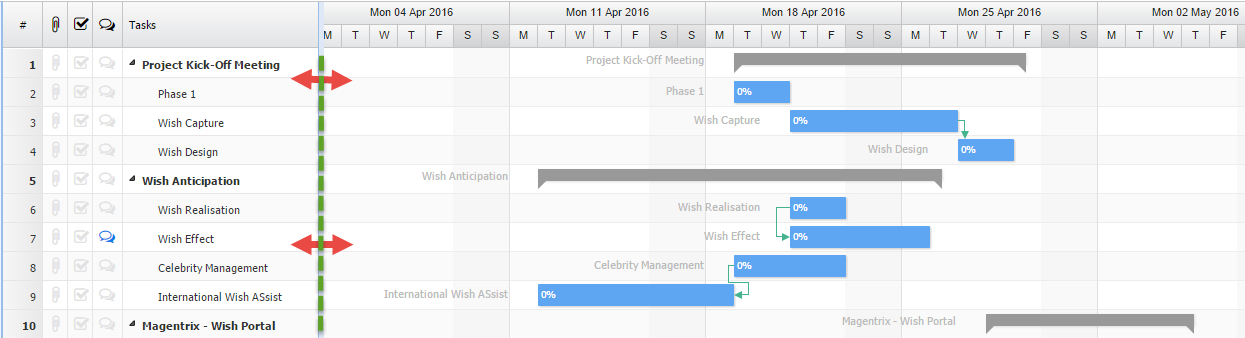
Step 2: Click on Zoom to Full TImeline. This is will provide the best overall view of your Gantt Chart.

Step 3: Press the Print icon.

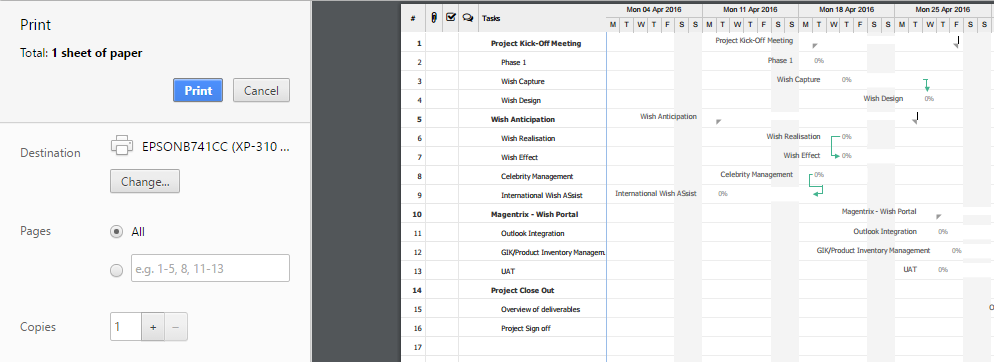
A pop up like the following should appear. As you can see it will represent the view that is last seen when viewing your project. If you do not want your project tasks to appear and want only the Gantt Chart, Cancel out of this screen and toggle the divider line between the task list and Gantt Chart. Pull the divider to the far left of the project.
When are you in the print screen, ensure that you selected the correct Destination printer. I your image looks like the one below, and it is difficult to see your Gantt chart scroll down and follow the corrective steps.
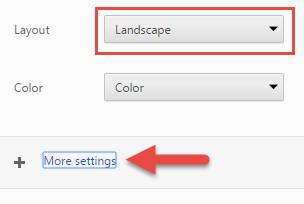
First, ensure that your Layout is set to Landscape for better visability.
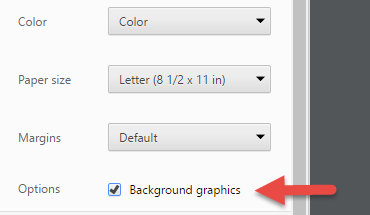
Second, select More Settings. Once you select More Settings you will see more options appaer. Make sure that the Background graphics checkbox is selected.
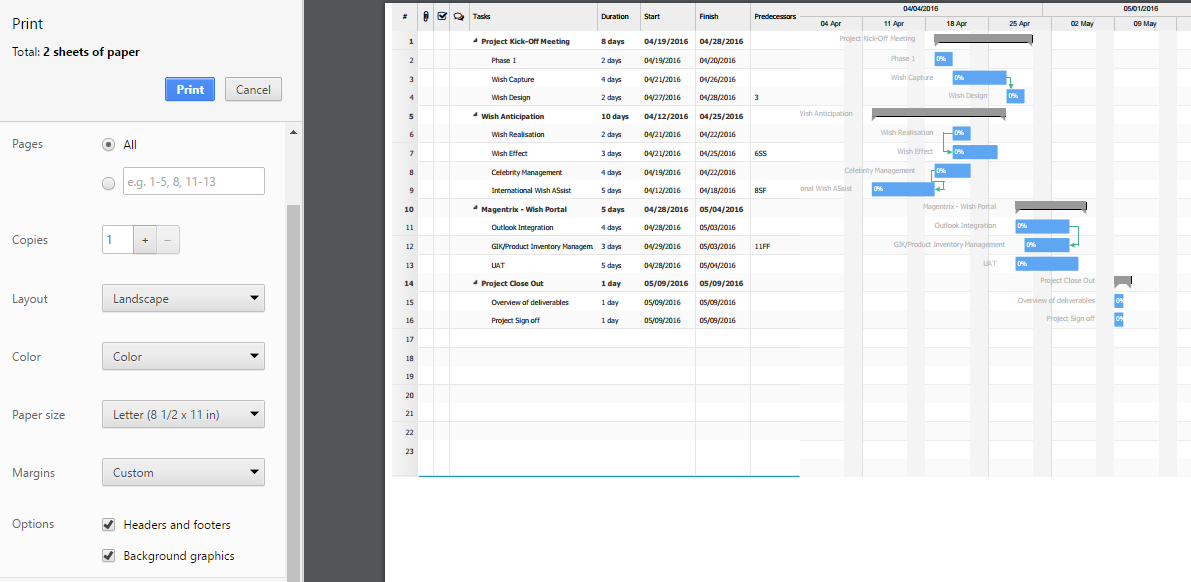
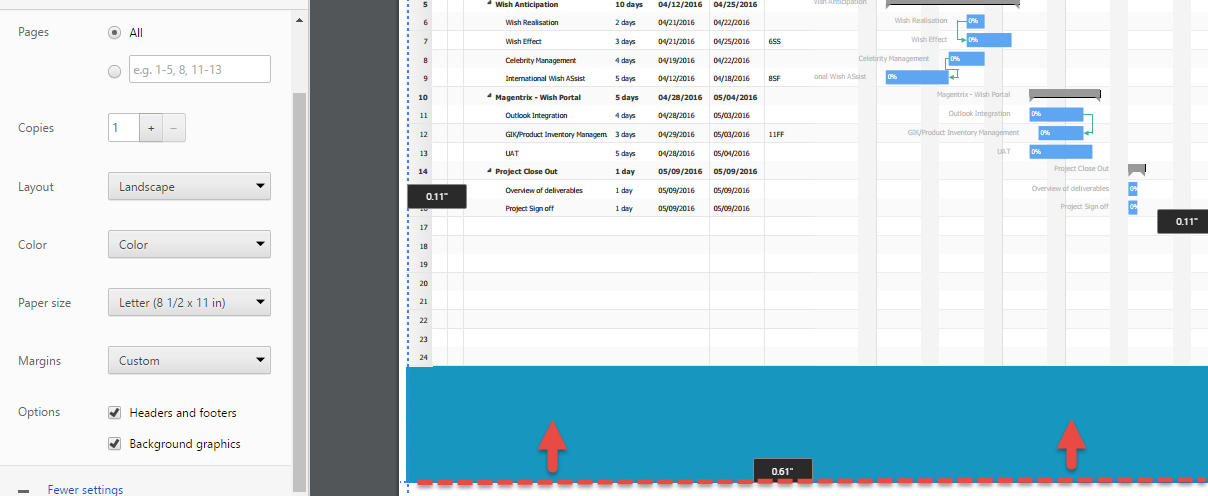
When Background graphics is enabled, you will notice that bottom blue margin is quite large. If you wish to save your ink once again go into More Settings and select Custom within the Margins drowndown. Then place your cursor over the bottom margin's dotted line and pull up to the desired size. The blue margin will become smaller.
Now that you have selected these options. Your print screen should look the following and you can print your project.